You may want to upgrade from the Free Plan or, if you are already on a paid plan, increase your storage or bandwidth.
Follow the steps below to upgrade your GoDAM plan:
- Log in to GoDAM Central.
- Navigate to the Billing menu and switch to the Plans tab.
- Select the plan that fits your needs. You can choose between a monthly or annual plan (if you choose an annual plan, you pay for 10 months and get 2 months free).
- After selecting a plan, you will be redirected to the payment page.
- Complete the payment to finish the upgrade.
Payment details
- Free Plan users will be asked to add billing and card details.
- Existing paid users can continue using their saved card or add a new card if needed.
Once the payment is successful, your upgraded plan and resources will be activated immediately. You can download your invoice from the Invoices tab under the Billing menu on GoDAM Central.
Note: It may take a few minutes for the updated storage and bandwidth limits to reflect in your account.
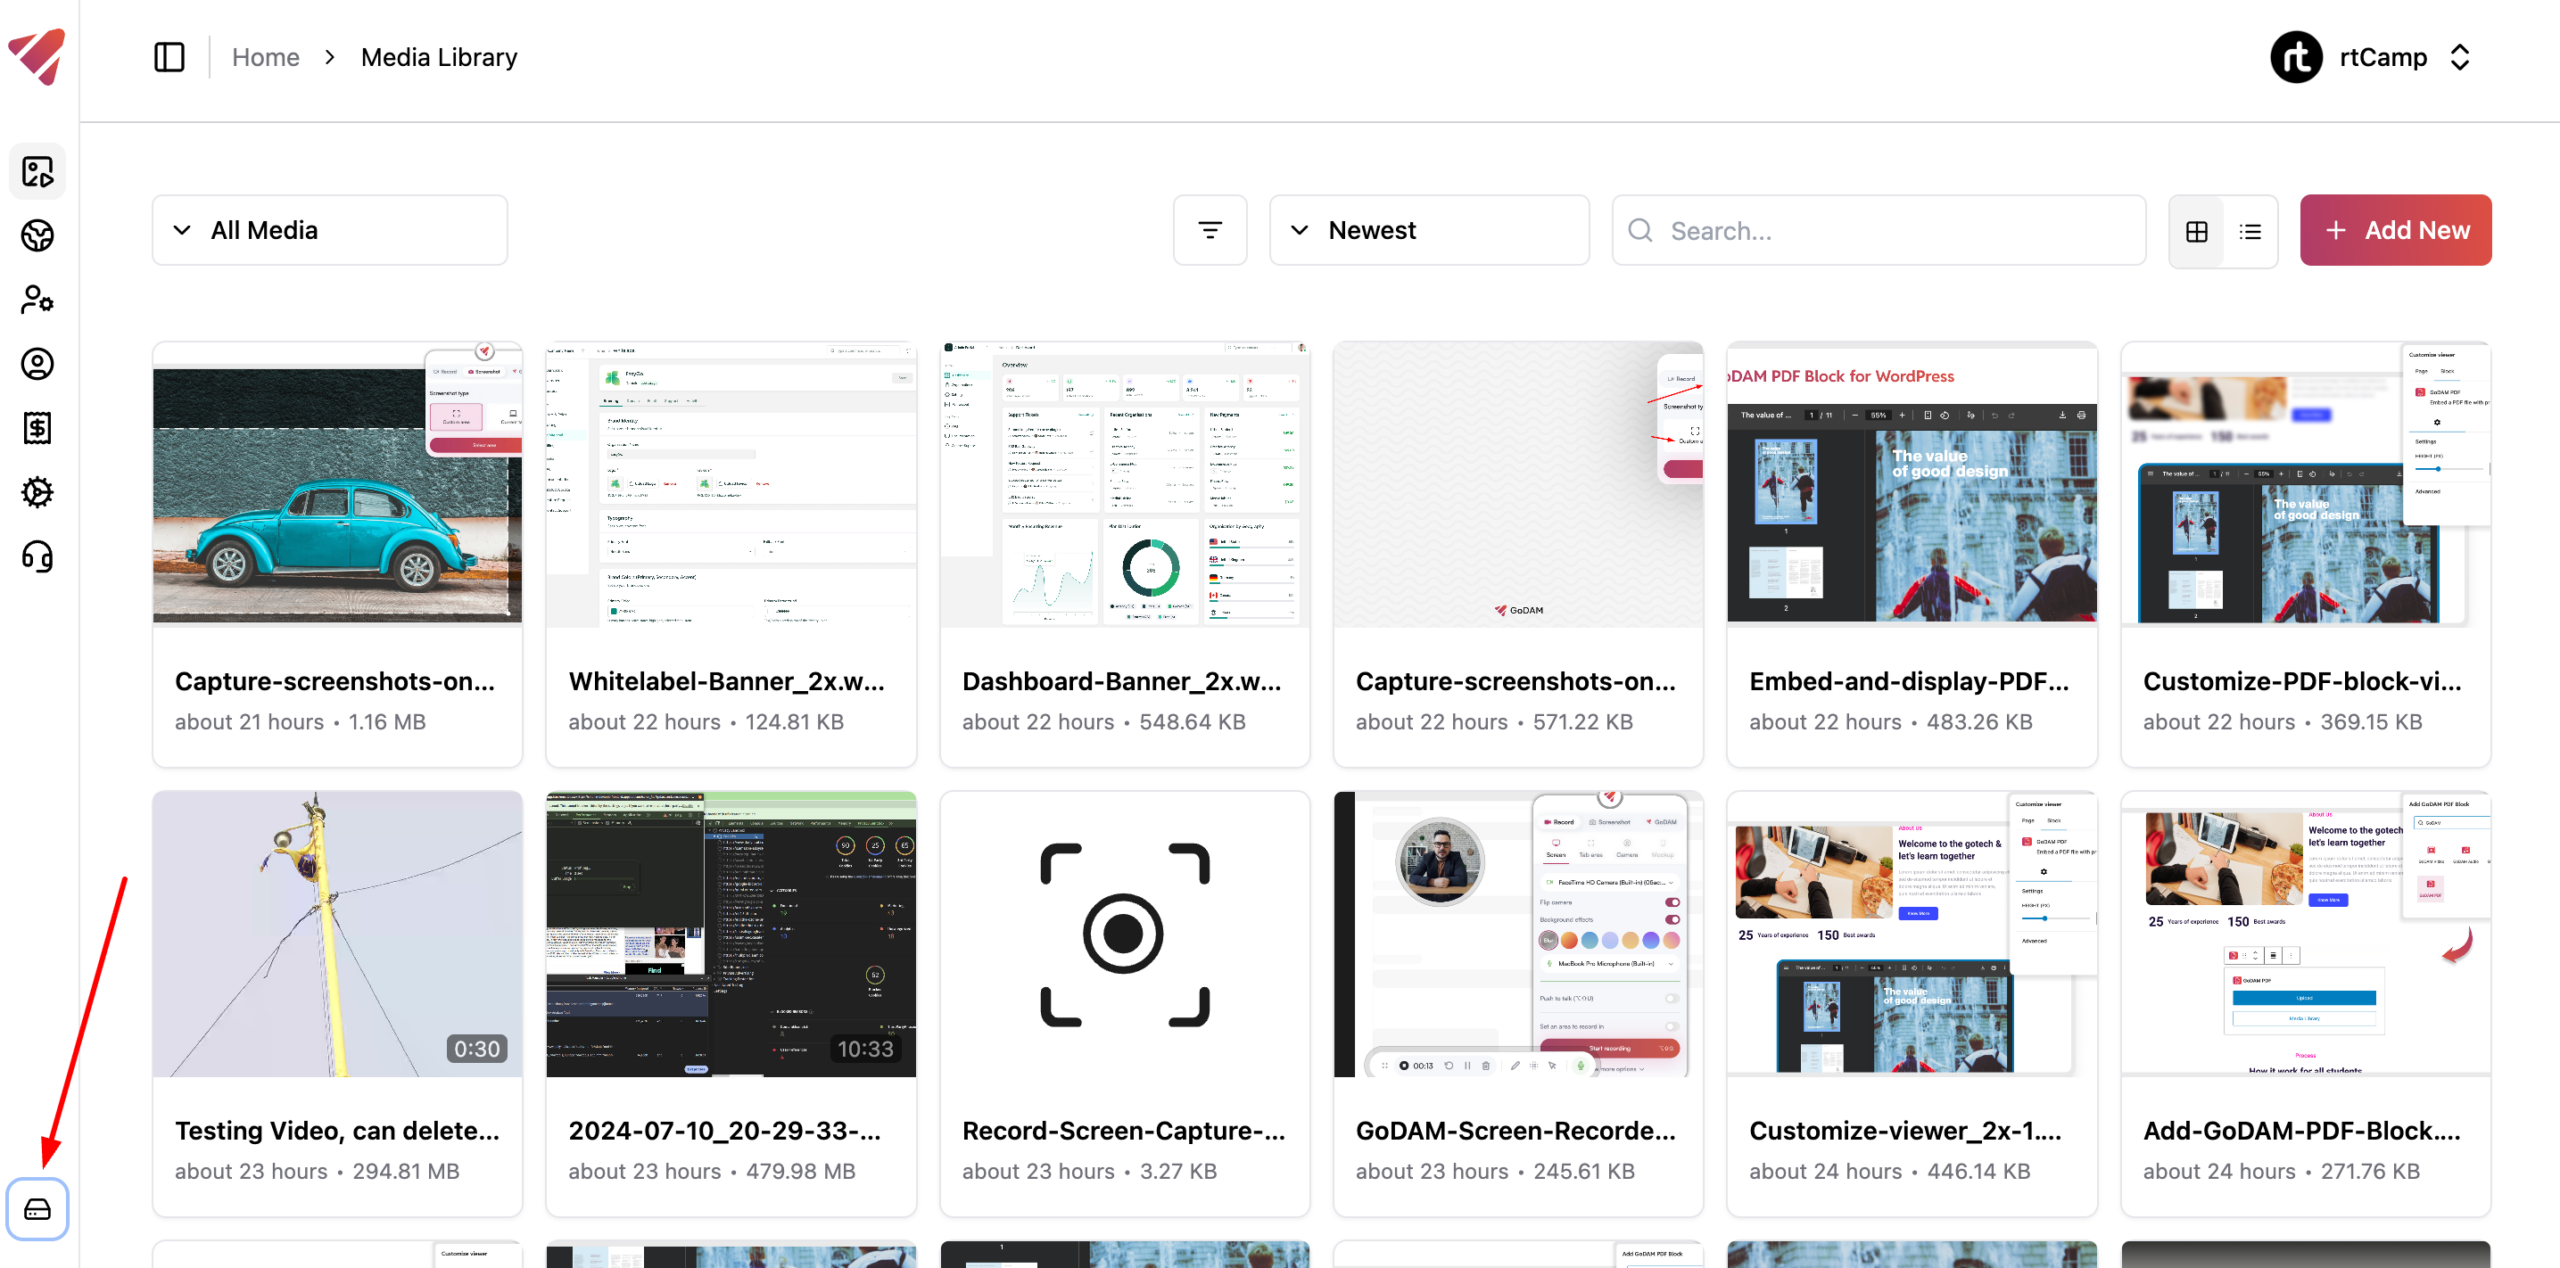
How to check storage and bandwidth
To check your storage and bandwidth consumption, you can go to GoDAM Central and click on the “Storage details” button
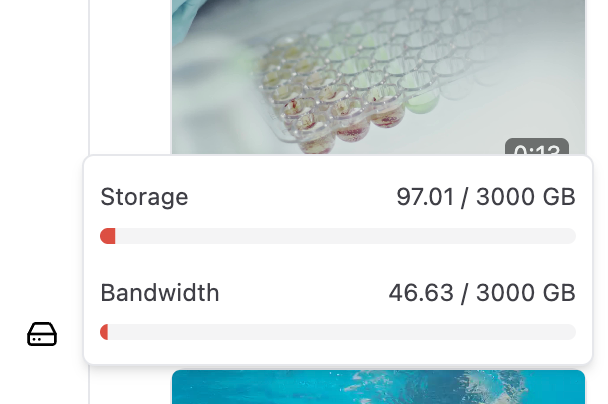
Upon clicking the button, you can see the storage and bandwidth consumption.
If you need any further clarification or encounter any kind of issues integrating GoDAM in your WordPress media workflow, please reach out to our support team.